Craig Thompson on 505 Centerboard gaskets
As with Howie, I have tried a lot of different materials and installation techniques. Gaskets are most certainly the hardest thing to get right on a 505, but there are some ways to make it a bit less painful. Most recently, I am using folded dacron stuck together with a double sided tape (but not sewn and no mylar). Here are some pictures of an installation I just finished on an Ovington (1st generation hull): https://photos.app.goo.gl/nWJBC7jQXUNisG1cA
On your specific questions:
Do people place gasket on at front then stretch from back and place rest of screws?
I have found this aggressive stretching using a purchase and vice grips to be a “defect support system” for the sewn gaskets and for the screws twisting the gasket material when being tightened. If you don’t sew the dacron, they lay very flat on their own. If you pre-punch the material with a hole punch, the material does not twist as you tighten the screws. I lay out the holes on a flat surface by taping down the gaskets with masking tape and slight tension, then using the keelbands as a hole guide and measuring for the desired overlap at each location. In general, I target 0mm overlap at the leading edge, 10mm overlap at the trailing edge (noting that both flaps should be very similar length at this location so they meet in the center), and 20mm overlap at the back of the trunk. The hardest part of getting this result is stretching/bending the gasket at the front to achieve 0mm at the leading edge and 10mm at the trailing edge. I cut some relief notches to help with this. Once happy with the layout, mark the holes and punch with a gasket punch that is about 2-3x larger than the screw diameter (to allow additional stretching/positioning/wiggle room when placing on the boat)
Do you then open front again to place rubber sealing gasket?
When installing the gaskets to the boat, I use double stick tape and again tension the material slightly by hand as it lays down to get everything smooth and flat. Once both flaps are stuck down at the desired location, you can install the keelbands. A side benefit of pre-punching all the screw holes in the dacron and rubber is that you create a nice little cavity to dab in sealant before you install the keelbands on top. I install the long side strips first, then the front plate and rubber last. On my latest installation, I did not glue the rubber to the front plate as I have done in the past. This seems to work fine.
Any preference of single rubber piece vs 2 pieces laid in overlapping “V” pattern?
Without a doubt, a single rubber piece is superior to the 2 piece overlapping thing that Holger does. Natural latex is superior in both stretch and tear resistance to any other synthetic rubber. The downside has always been that it tends to break down and become hard/brittle quickly. After many years of searching and many failed experiments, I have finally found the perfect natural latex rubber that doesn’t break down. This stuff is amazing and works perfectly with the 2.4mm thick front plate and 3.0mm side strips to achieve a consistent (and legal even prior to the rule change) keelband thickness. I have a bunch of it available for purchase if you need some. Another challenge with natural latex rubber is cutting it cleanly as it is so tear resistant. I have found that a rotary cutter (like a razor sharp pizza cutter) on a self healing cutting mat cuts it like a hot knife through butter. You can even run the cutter along a flat straight edge to get perfectly straight lines. To cut the throat of the rubber where the CB will touch, mark for where you want the engagement point (I do this with the CB at 4″ up from vertical) and use a large gasket punch to cut a hole at this location. I then cut lines tangent to this circle to the aft edge of the keelband plate. You also need to pre-punch the screw holes in the rubber to prevent twisting/puckering.Larry’s Thoughts:
Ali;
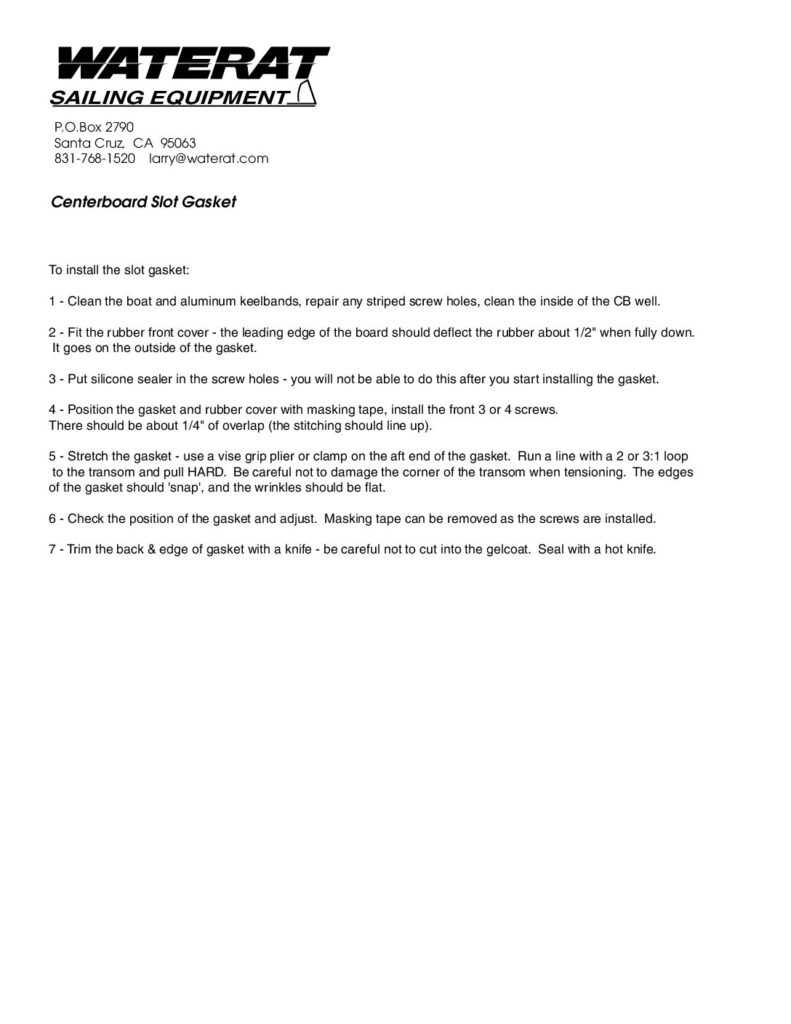
Attached is the instructions I send with the gaskets. I still think that the sewn edge, mylar and front stitched together work well, as well as stretching. The front cover is much less than 1/8”, and latex will probably tear early. The rubber material that Craig has is really good. With the G10 front piece more of those screws can be installed. Punching with an awl is quite easy after stretching.

