The 505 is a 16 foot, 6 inch (or 5.05m) double-handed sailboat that incorporates a light weight, high performance hull design with a powerful sail plan and one trapeze
Thank you to the KYC Regatta organizing committee and Cynthia Des Brisay for arranging 5O5 participation in the Invite and for hosting the class. It was great to see everyone. Wish it was just like old times, and in many good ways it was. In some ways, it was better.
Loved seeing PVG, Pierre, the Fighting Ladies and Tom. Cynthia and Charles were in outstanding form. Cynthia’s house is as graciously appointed for hosting as ever. The view just keeps getting better. Baker and the moon put on an exceptional show Friday night. Nice to see Phil in the yard getting animated about being in the fleet again some day. (And have the Americans say they would like to see that.)
The 5O5 is still beautiful and sailing it is still pure joy. Tom, great sailor that he is, is still learning about driving the 5O5, but that’s nothing new, and he is filled with hope and soaking up improvement like a sponge. While I’m listing good things, I loved seeing Brian and Brendan Trainor, father and son, rocking it in Banshee. (Also loved seeing the ladies take bronze.)
Congrats to the victors, Pierre and Paul, with an unblemished streak of bullets, hard earned. Looking forward to the next one.
Results are here: https://docs.google.com/spreadsheets/d/1HedXTHpBBezK6ODSZZ78Teo6WM5QA4BzqLpxU6zuY_Y/edit?usp=drive_link and on http://www.kitsilanoyachtclub.com
Jay Glaser at Danger Sails has numerous main and jib patterns. After testing all of them and in various combinations, we have settled in on one main and jib combination that is really fast in all conditions. In making that determination, we also placed a large emphasis on evaluating the speed of others. Bruce Edwards and Dave Shelton had placed 3rd at the 1989 World’s using the same main and jib combination I am referring to. Mike Punnett and Scott Ikle, considering their very light weight, have very successfully used this same main and jib combination. The jib pattern we are referring to is known as the Short Luff All Purpose Jib (long luff for non-launcher boats). The mainsail pattern is referred to as the All Purpose Main.
BASIC SETUP
Centerboard. The leading edge of our centerboard in 8’5-1/2″ from the transom.
Mast Step. The aft edge of our mast at the butt is 10’1-1/4″ from the transom. I personally believe that this dimension is not that critical, although the general consensus is that the mast should be placed as far aft as possible.
Spreader Height. Our spreader bracket is located on the mast 10’2″ above the deck. I also feel that this dimension is not that critical.
Spreader Dimensions. I believe it is inappropriate to compare spreader dimensions on one boat to another due to the multiple variables such as spreader height, hound height and chain plate locations. However, for your own boat, I do believe it is useful to keep a record of spreader tip-to-tip and deflection dimensions, for purposes of making changes or repeating dimensions on a new mast. Over the years, I have tried many different spreader dimensions and found that I always come back to something very close to the following dimensions. If you drew a straight line between the point at which a shroud exits the mast and the chainplate, the spreader should be approximately 1″ forward of that line and 1″ out to the side. If the trapeze hound is located very close to the shroud hound, this test can be made very easily by holding the trapeze ring at the chainplate and then by sighting upwards and evaluating the distance between the trap wire and the spreader tip. To be consistent, I always make this analysis when the mast is upright (rake at approximately 25’7″), the rig tension just snug, and with no prebend in the mast.
Shroud Hounds. We have two hounds heights, high and low. In the high hound location, the shroud exits the mast 10″ above the forestay exit. We use the high hound location almost all the time, unless we are very confident a regatta is going to be sailed consistently in overpowering conditions. For example, we used the low hound location at the 1990 North American Championships in San Francisco. In the low hound setting, the shrouds exit the mast 1- 1/2″ above the forestay exit.
Trapeze Hounds. I believe the trapeze hound should be close to the shroud hounds. Ours are approximately 2″ above the shrouds.
Side Bend. In order for the boat to have the same speed on each tack, I believe that it is critically important that the side bend behaves the same on each tack. I also believe that this is the only culprit in a 505 which would cause unequal speed/performance on each tack. There are two causes for the mast to not behave the same on each tack: 1) the mast is not set up properly side-to-side in the boat, and 2) the mast has permanent side bend (all masts have some). The process of setting the mast up begins in the dinghy park. With the rig upright (i.e., no rake) and a slight bit of rig tension, adjust the mast ram so there is no bend. Without a main on, put your eye against the aft edge of the luff groove, and sight up the mast. If there is even the slightest bend to the rig, loosen the shrouds and make adjustments to them until the mast is perfectly straight sideways. For example, if the mast tip bends off to starboard, then ease off the starboard shroud. If, after making these adjustments, the mast bend is not perfectly straight sideways from the tip to the gooseneck, then it is probably a result of some permanent bend in the mast. If this is the case, continue to make the adjustments until the mast makes an “S” shape which is evenly balance an each side. Now comes the water test. In moderate trapezing conditions, have the crew drive from the wire, go forward, put your eye on the luff groove of the mast, and sight upward. When the main is all the way in, I believe that when sighting between the gooseneck and hounds, the mast at the spreader should be in the slot [bend to leeward] approximately 1″. The mast tip will always be falling off to leeward, so I tend not to pay too much attention to what is going on above the hounds. Next, while sighting up the luff groove, have the crew slowly ease the main out until the end of the boom is approximately at the corner of the transom. While this is taking place, focus on what is happening to the side bend of the mast in the area of the spreaders. It is my belief that, while easing the main as described, the mast bend should go from 1″ to leeward to straight or just slightly popping to weather. Now tack over to the other tack and repeat the same procedure. If the mast is not behaving the same on each tack, you need to make adjustments. For example, lets say that, with the main all the way in, the mast at the spreaders is further in the slot on starboard tack than on port. In this case you would need to ease off on the starboard shroud.
ON THE WATER ADJUSTMENTS
Rake. We do measure our rake, although I believe our most upright setting is approximately 25’7″ with a tape shackled to the mainsail and measuring to the center of the transom through a transom hole. In drifter conditions (drifter conditions being any time you cannot keep both the driver and the crew on the weather tank, approximately 0-4 knots), we rake back 3/4 of the way to maximum. Raking in drifting conditions accomplishes two very important things, first, it induces bend in the mast (Assuming you have an uphaul on your ram or it is pinned below) and second, it shifts the center of effort of the sails aft, giving you weather helm. When the wind velocity is between a “drifter” and overpowered, we stand the rake all the way up. I would define overpowered as being that point at which you cannot pull the main to centerline during the lulls. As you get more and more overpowered, we ease the rake back incrementally until the boom scrapes on the tiller during a tack.
Rig Tension. We have no numbers or marks on our rig tension control. In drifter conditions, assuming you are using the proper amount of prebend, the shrouds will never go slack due to the ram pulling forward on the mast, and since there is virtually no leech tension in these conditions, minor changes in rig tension can dramatically effect the forestay sag. In drifter conditions, we adjust our shroud tension until the forestay sag looks similar to what it would look like in 8-12 knots. In anything between a drifter and overpowered conditions, we pull on the rig tension just to the point where the slack in the leeward shroud is taken up. Once into overpowered conditions, we incrementally pull on more and more rig tension as the wind blows harder and harder. Keep in mind that if the boom starts coming to centerline in the lulls, you might want to start easing rig tension off.
Mast Ram. Once we have found the proper settings for a particular mast sail combination, we never adjust the mast ram again, except for pre-bending in drifter conditions. Since we rarely adjust the ram, we have no uphaul purchase, but rather, we just have a locking device underneath the car on the mast, which holds the ram up. I much prefer this over an uphaul purchase because you have a positive constant setting. Keep in mind that even a 1/2″ change in mast ram setting can make a dramatic difference in sail shape and speed. Therefore, we have found it quite important to pin the mast ram in place once the proper setting has been found. In the case of the Danger (All Purpose) main, the proper setting can best be duplicated as follows; with the rig tension just snug and no prebend in the mast, set the rake at 25’7″. Then pull the main halyard tight while holding it against the aft edge of the mast just above the gooseneck. Now induce prebend into the mast until the maximum distance between the aft edge of the mast and the main halyard is 1 5/8″. On our boat, this maximum distance was found approximately 2′ below the spreaders. Once you have found the magic setting, you never need to move the mast ram again, except as I mentioned in the drifter conditions, in which case, we induce more prebend by pushing the mast ram up 3/4″.
Outhaul. In drifter conditions or overpowered conditions, we take the outhaul all the way out. For conditions in between that, we let if off no more than 1″.
Cunningham. Until we are overpowered, we do not use any cunningham, except to pull out some of the wrinkles if we don’t like looking at them. As we get more and more overpowered, we pull on more an more cunningham.
Vang. We use end boom sheeting and therefore, use the vang to obtain leech tension in all but drifter conditions. To help determine how much vang to use, we have several tell tales on the leech of the main in the area near the top batten. We typically vang to the point where those tell tales are stalled approximately 70% of the time. However, if you get in a particular tactical situation where you want to point higher, we might apply more vang and stall the tell tales approximately 90% of the time. Over about 15 knots, we found that you cannot use the tell tales any longer, for they are flowing all the time. In those conditions we just set it where the twist looks about right.
Jib Leads. We almost never change our jib lead setting, and the only time we do is when experimenting to try to find a possibly faster setting. Since we use rake to depower, it causes the jib to twist off as you rake back, therefore, there is no need to move the leads. To move them forward or aft for choppy or smooth water, we just have not found to be effective and therefore, we chose to keep out life simple and put them in one spot and leave them there. On our boat, which is a 1980 Hamlin Launcher model, the jib lead is set at a point where the jib sheet enters the turning block 10-1/2″ above the floor and 84″ forward of the aft edge of the transom.
Jib Sheet. On our boat, we have one mark on each jib sheet. The mark is located at the jib lead block when sailing in moderate conditions. I prefer to use white seizing line wrapped about 20 times around the sheet, such that you get a 1/2″ wide mark, which is quite easy to see providing you have colored jib sheets. Another advantage to using seizing line is that you could move the mark if you found that it is not in the right location. I believe the jib sheet tension is one of the most important adjustments on the boat. Sometimes a 1″ difference in the jib sheeting can be the difference between the fastest boat upwind or just another one of the good boats. Therefore for us to sail without marks on the jib sheet so that we can easily duplicate settings would be immensely difficult. Now lets talk about where the jib sheet mark in in varying conditions. Once again, assuming you have the mark such that it is at the jib sheet block in moderate (10-14) knot air, the mark would gradually get further out from the block in lighter and lighter air to as much as 2″. As you rake in overpowering conditions, the mark starts coming through the block as much as 2″ when in maximum rake. The best method I have found for determining the proper sheet tension is to do the following; when tuning or racing near another boat, keep sheeting the jib in harder and harder. As you point higher, you will lose speed, but typically, the height gain is greater than the loss in speed. Then you will get to a point where it is about an even trade-off between height and speed. As you trim the jib harder, you cannot gain any more height and the boat speed drops dramatically. Hopefully, all the while, you have been making a mental note of where the jib sheet mark is. The optimum tension is that point where there seems to be an even trade off between height and speed. At any given wind velocity, the optimum point will change with different sea conditions.. In rough water, it might be out 1″, and in smooth water, it might be in an 1″.
Jib Luff Tension. Whether you pull up on a jib halyard or down at the tack, it has the same effect. If you use the halyard method, make sure that the dead end to your halyard purchase is attached to your forestay purchase such that as you change rake, there is not change in the luff tension. Until overpowered, we just pull on enough luff tension to pull the wrinkles out of the luff of the jib. Once overpowered, we start pulling on the luff tension harder and harder as the wind increases. By pulling on the luff tension, it not only keeps the draft foreward, but more importantly, it has a dramatic effect on reducing forestay sag, and thereby flattening the jib.
Spinnaker Pole Topping Lift. The pole height can dramatically effect the spinnaker performance. Start by copying those who are faster than you. Raising the pole powers up the spinnaker, lowering it depowers the spinnaker. It has the same effect of moving a lead forward or aft.
Center Board. While sailing upwind, we keep our center board all the way down until significantly overpowered (18 knots +) and then we gradually start pulling it up maybe 2″ or 3″.
Being a relatively open class design, the 505 has many adjustable controls. Our feeling is that the more controls you have, the greater the chance that one of those controls is not right, causing you to go slower, not faster. Therefore, our approach has always been to minimize the number of adjustments as much as possible. By fixing the mast ram and jib leads in one position, it eliminates two variables and greatly increases our probability of getting the other variables correct. Our prerace adjustments consist of setting the rake, the jib luff tension, and the outhaul. While racing, we usually only have to be concerned about jib sheet tension, vang, and cunningham. If the wind velocity changes significantly, we only have to adjust the rake.
Good luck, and above all else, if you are not going fast, copy what is and remember to never stop asking questions.
Posted inUncategorized|Comments Off on Ullman Tuning Guide
As with Howie, I have tried a lot of different materials and installation techniques. Gaskets are most certainly the hardest thing to get right on a 505, but there are some ways to make it a bit less painful. Most recently, I am using folded dacron stuck together with a double sided tape (but not sewn and no mylar). Here are some pictures of an installation I just finished on an Ovington (1st generation hull): https://photos.app.goo.gl/nWJBC7jQXUNisG1cA
On your specific questions:
Do people place gasket on at front then stretch from back and place rest of screws?
I have found this aggressive stretching using a purchase and vice grips to be a “defect support system” for the sewn gaskets and for the screws twisting the gasket material when being tightened. If you don’t sew the dacron, they lay very flat on their own. If you pre-punch the material with a hole punch, the material does not twist as you tighten the screws. I lay out the holes on a flat surface by taping down the gaskets with masking tape and slight tension, then using the keelbands as a hole guide and measuring for the desired overlap at each location. In general, I target 0mm overlap at the leading edge, 10mm overlap at the trailing edge (noting that both flaps should be very similar length at this location so they meet in the center), and 20mm overlap at the back of the trunk. The hardest part of getting this result is stretching/bending the gasket at the front to achieve 0mm at the leading edge and 10mm at the trailing edge. I cut some relief notches to help with this. Once happy with the layout, mark the holes and punch with a gasket punch that is about 2-3x larger than the screw diameter (to allow additional stretching/positioning/wiggle room when placing on the boat)
Do you then open front again to place rubber sealing gasket?
When installing the gaskets to the boat, I use double stick tape and again tension the material slightly by hand as it lays down to get everything smooth and flat. Once both flaps are stuck down at the desired location, you can install the keelbands. A side benefit of pre-punching all the screw holes in the dacron and rubber is that you create a nice little cavity to dab in sealant before you install the keelbands on top. I install the long side strips first, then the front plate and rubber last. On my latest installation, I did not glue the rubber to the front plate as I have done in the past. This seems to work fine.
Any preference of single rubber piece vs 2 pieces laid in overlapping “V” pattern?
Without a doubt, a single rubber piece is superior to the 2 piece overlapping thing that Holger does. Natural latex is superior in both stretch and tear resistance to any other synthetic rubber. The downside has always been that it tends to break down and become hard/brittle quickly. After many years of searching and many failed experiments, I have finally found the perfect natural latex rubber that doesn’t break down. This stuff is amazing and works perfectly with the 2.4mm thick front plate and 3.0mm side strips to achieve a consistent (and legal even prior to the rule change) keelband thickness. I have a bunch of it available for purchase if you need some. Another challenge with natural latex rubber is cutting it cleanly as it is so tear resistant. I have found that a rotary cutter (like a razor sharp pizza cutter) on a self healing cutting mat cuts it like a hot knife through butter. You can even run the cutter along a flat straight edge to get perfectly straight lines. To cut the throat of the rubber where the CB will touch, mark for where you want the engagement point (I do this with the CB at 4″ up from vertical) and use a large gasket punch to cut a hole at this location. I then cut lines tangent to this circle to the aft edge of the keelband plate. You also need to pre-punch the screw holes in the rubber to prevent twisting/puckering.Larry’s Thoughts:
Ali;
Attached is the instructions I send with the gaskets. I still think that the sewn edge, mylar and front stitched together work well, as well as stretching. The front cover is much less than 1/8”, and latex will probably tear early. The rubber material that Craig has is really good. With the G10 front piece more of those screws can be installed. Punching with an awl is quite easy after stretching.
Posted inUncategorized|Comments Off on Pictures of CB Gasket Install – Craig Thompson
This is a solid spec, but does not reflect the higher hoist for the longer luff spinnaker, or the various systems for helping the upper mast handle that load, such as upper trap “wires” and trap twigs.
Posted inUncategorized|Comments Off on Waterat mast specs for 505
The Toronto 5o5 fleet came together for a 2 day training camp Sept 28/29. Hosted by OHCC, both days delivered 15+ knt winds out of the East and made for a great fall event.
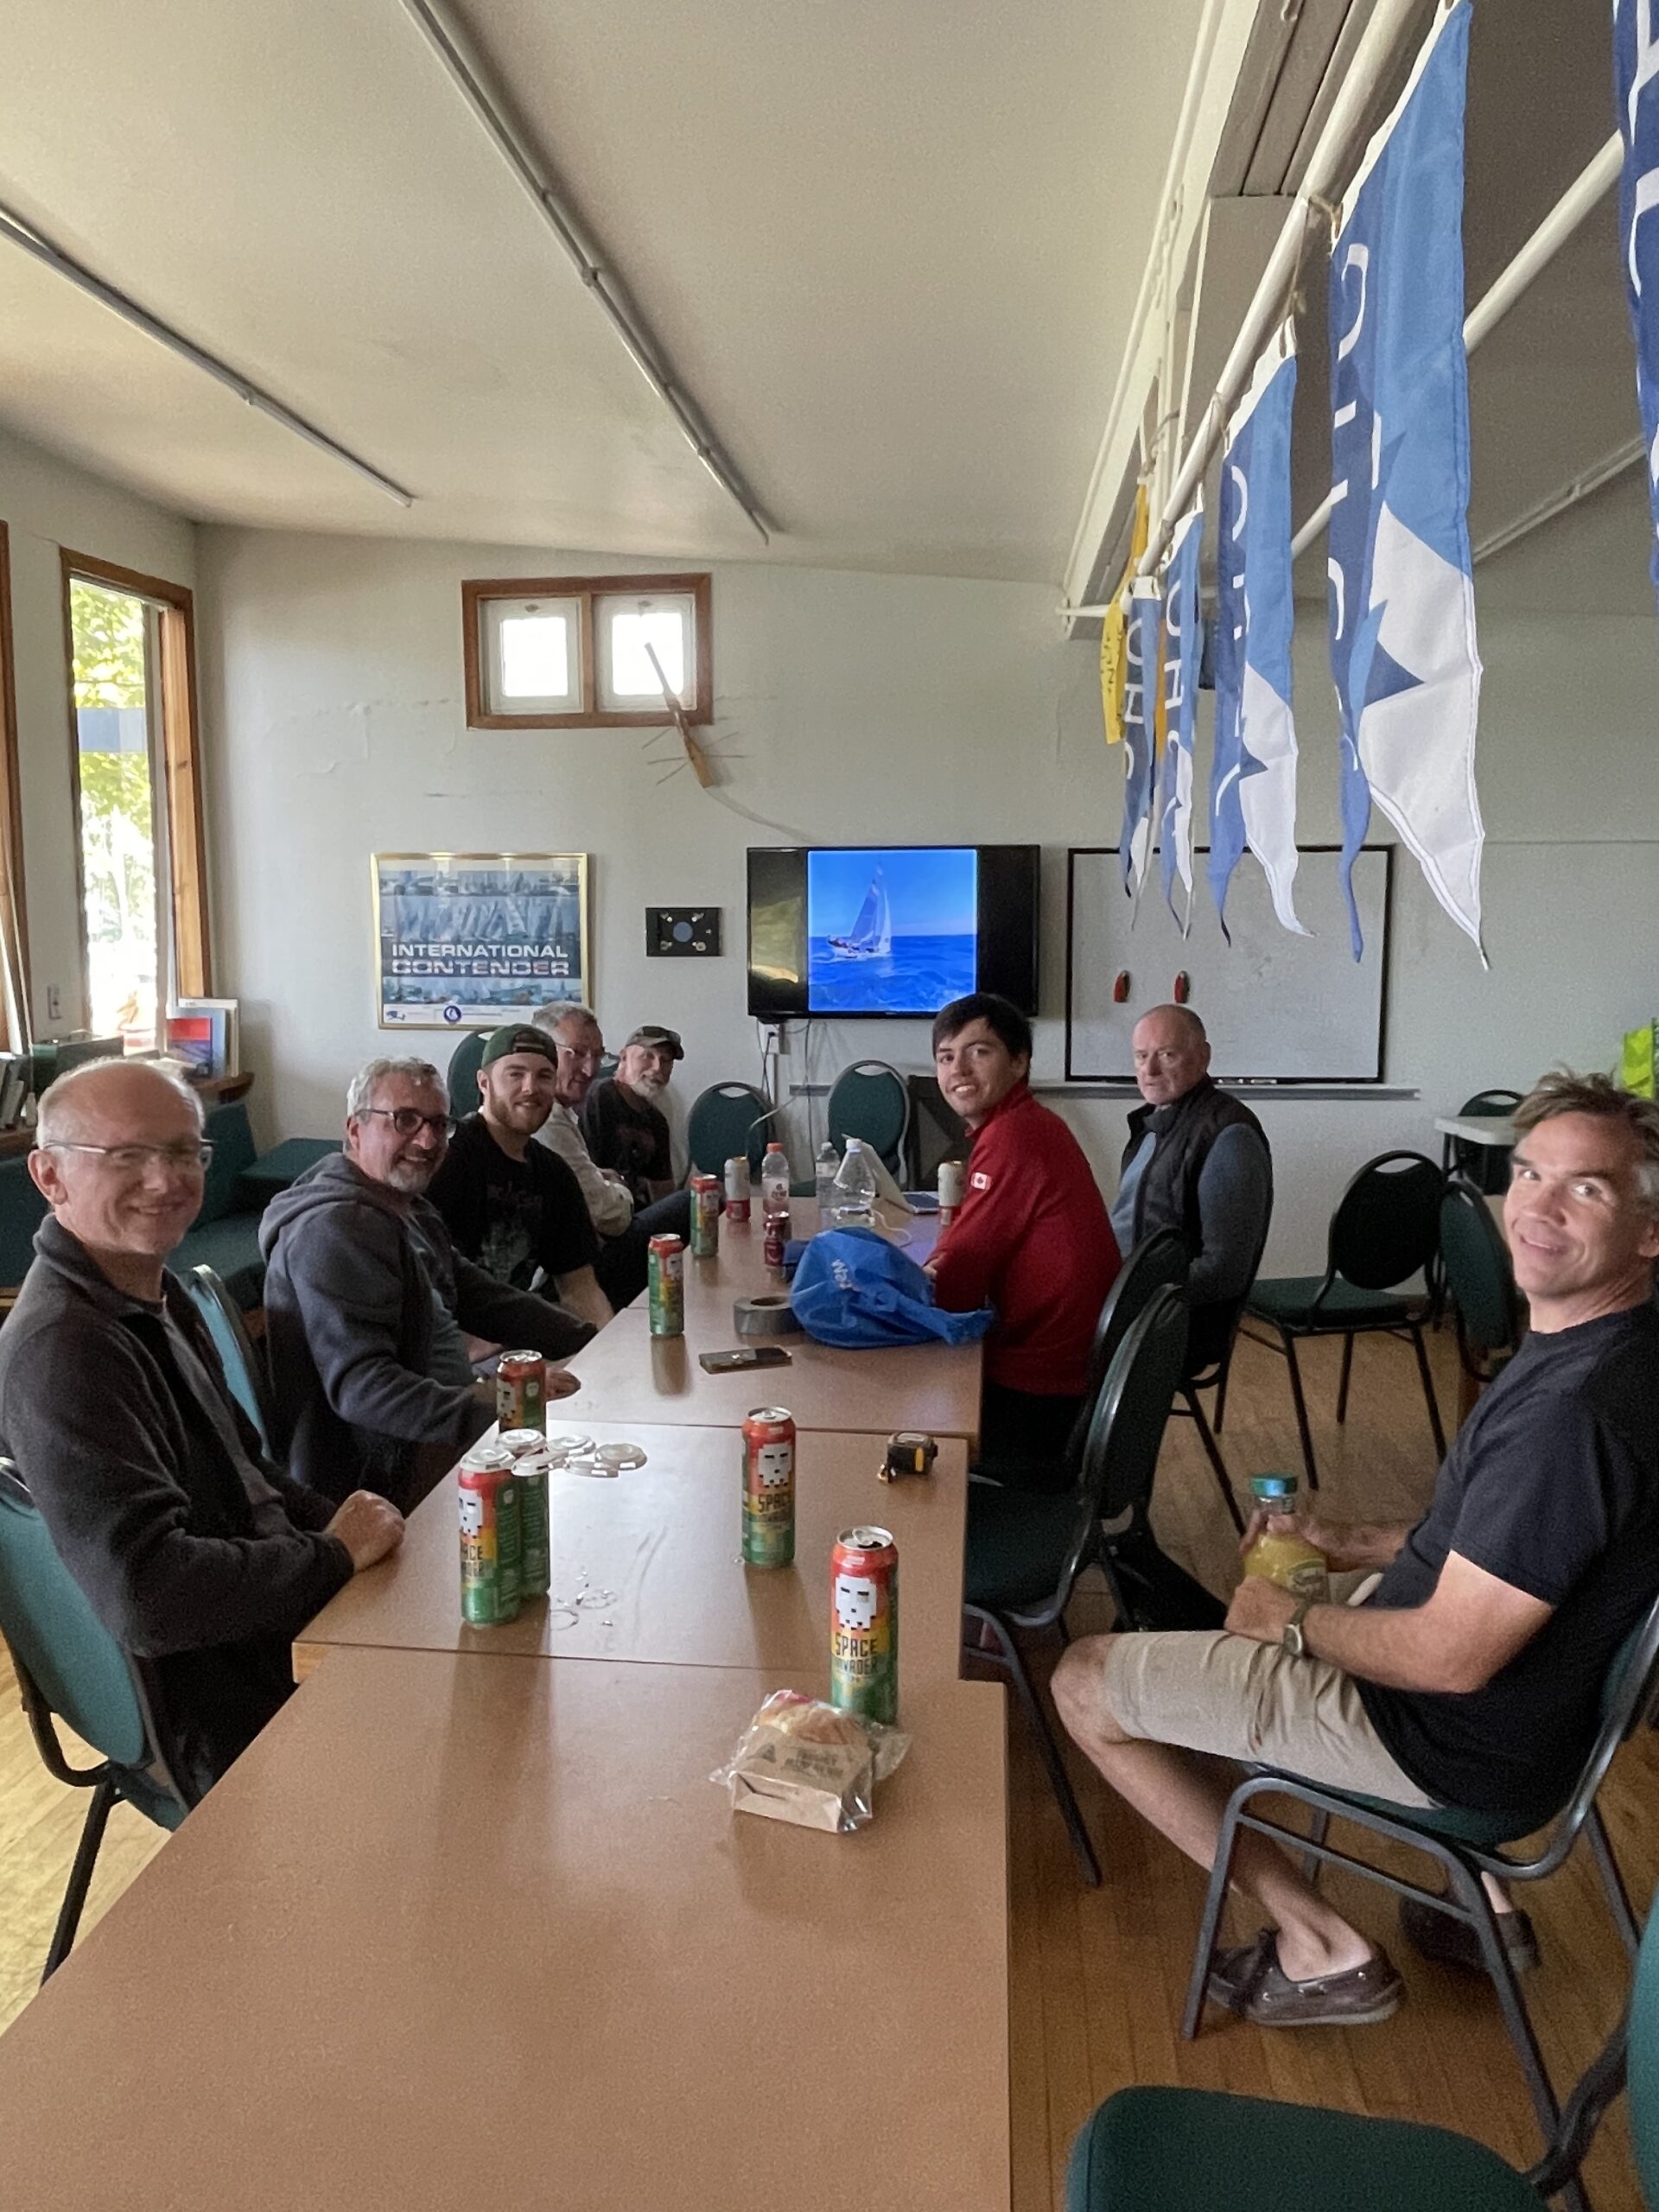
The first day was sailed primarily in the Outer Harbour boundaries with flat water, 15knts from the north east, with gust 20+ knts and the offshore shifty conditions made for challenging wire to wire reaching conditions and a chance for the boats to compare upwind depowering techniques. 3 boats participated, with Ali in the OHCC coach Rib taking videos. By the end of the day the team were spent, with Simon and Conner winning the contest for time in the water. The gang had a meaningful de-brief at the club and moved on to the Auld Spot where we were met by past 5o5 sailor Peter Hale , having dragged himself to the bar (on crouches!), where we had a few beers, dinner, and swapped stories.
Peter Hale
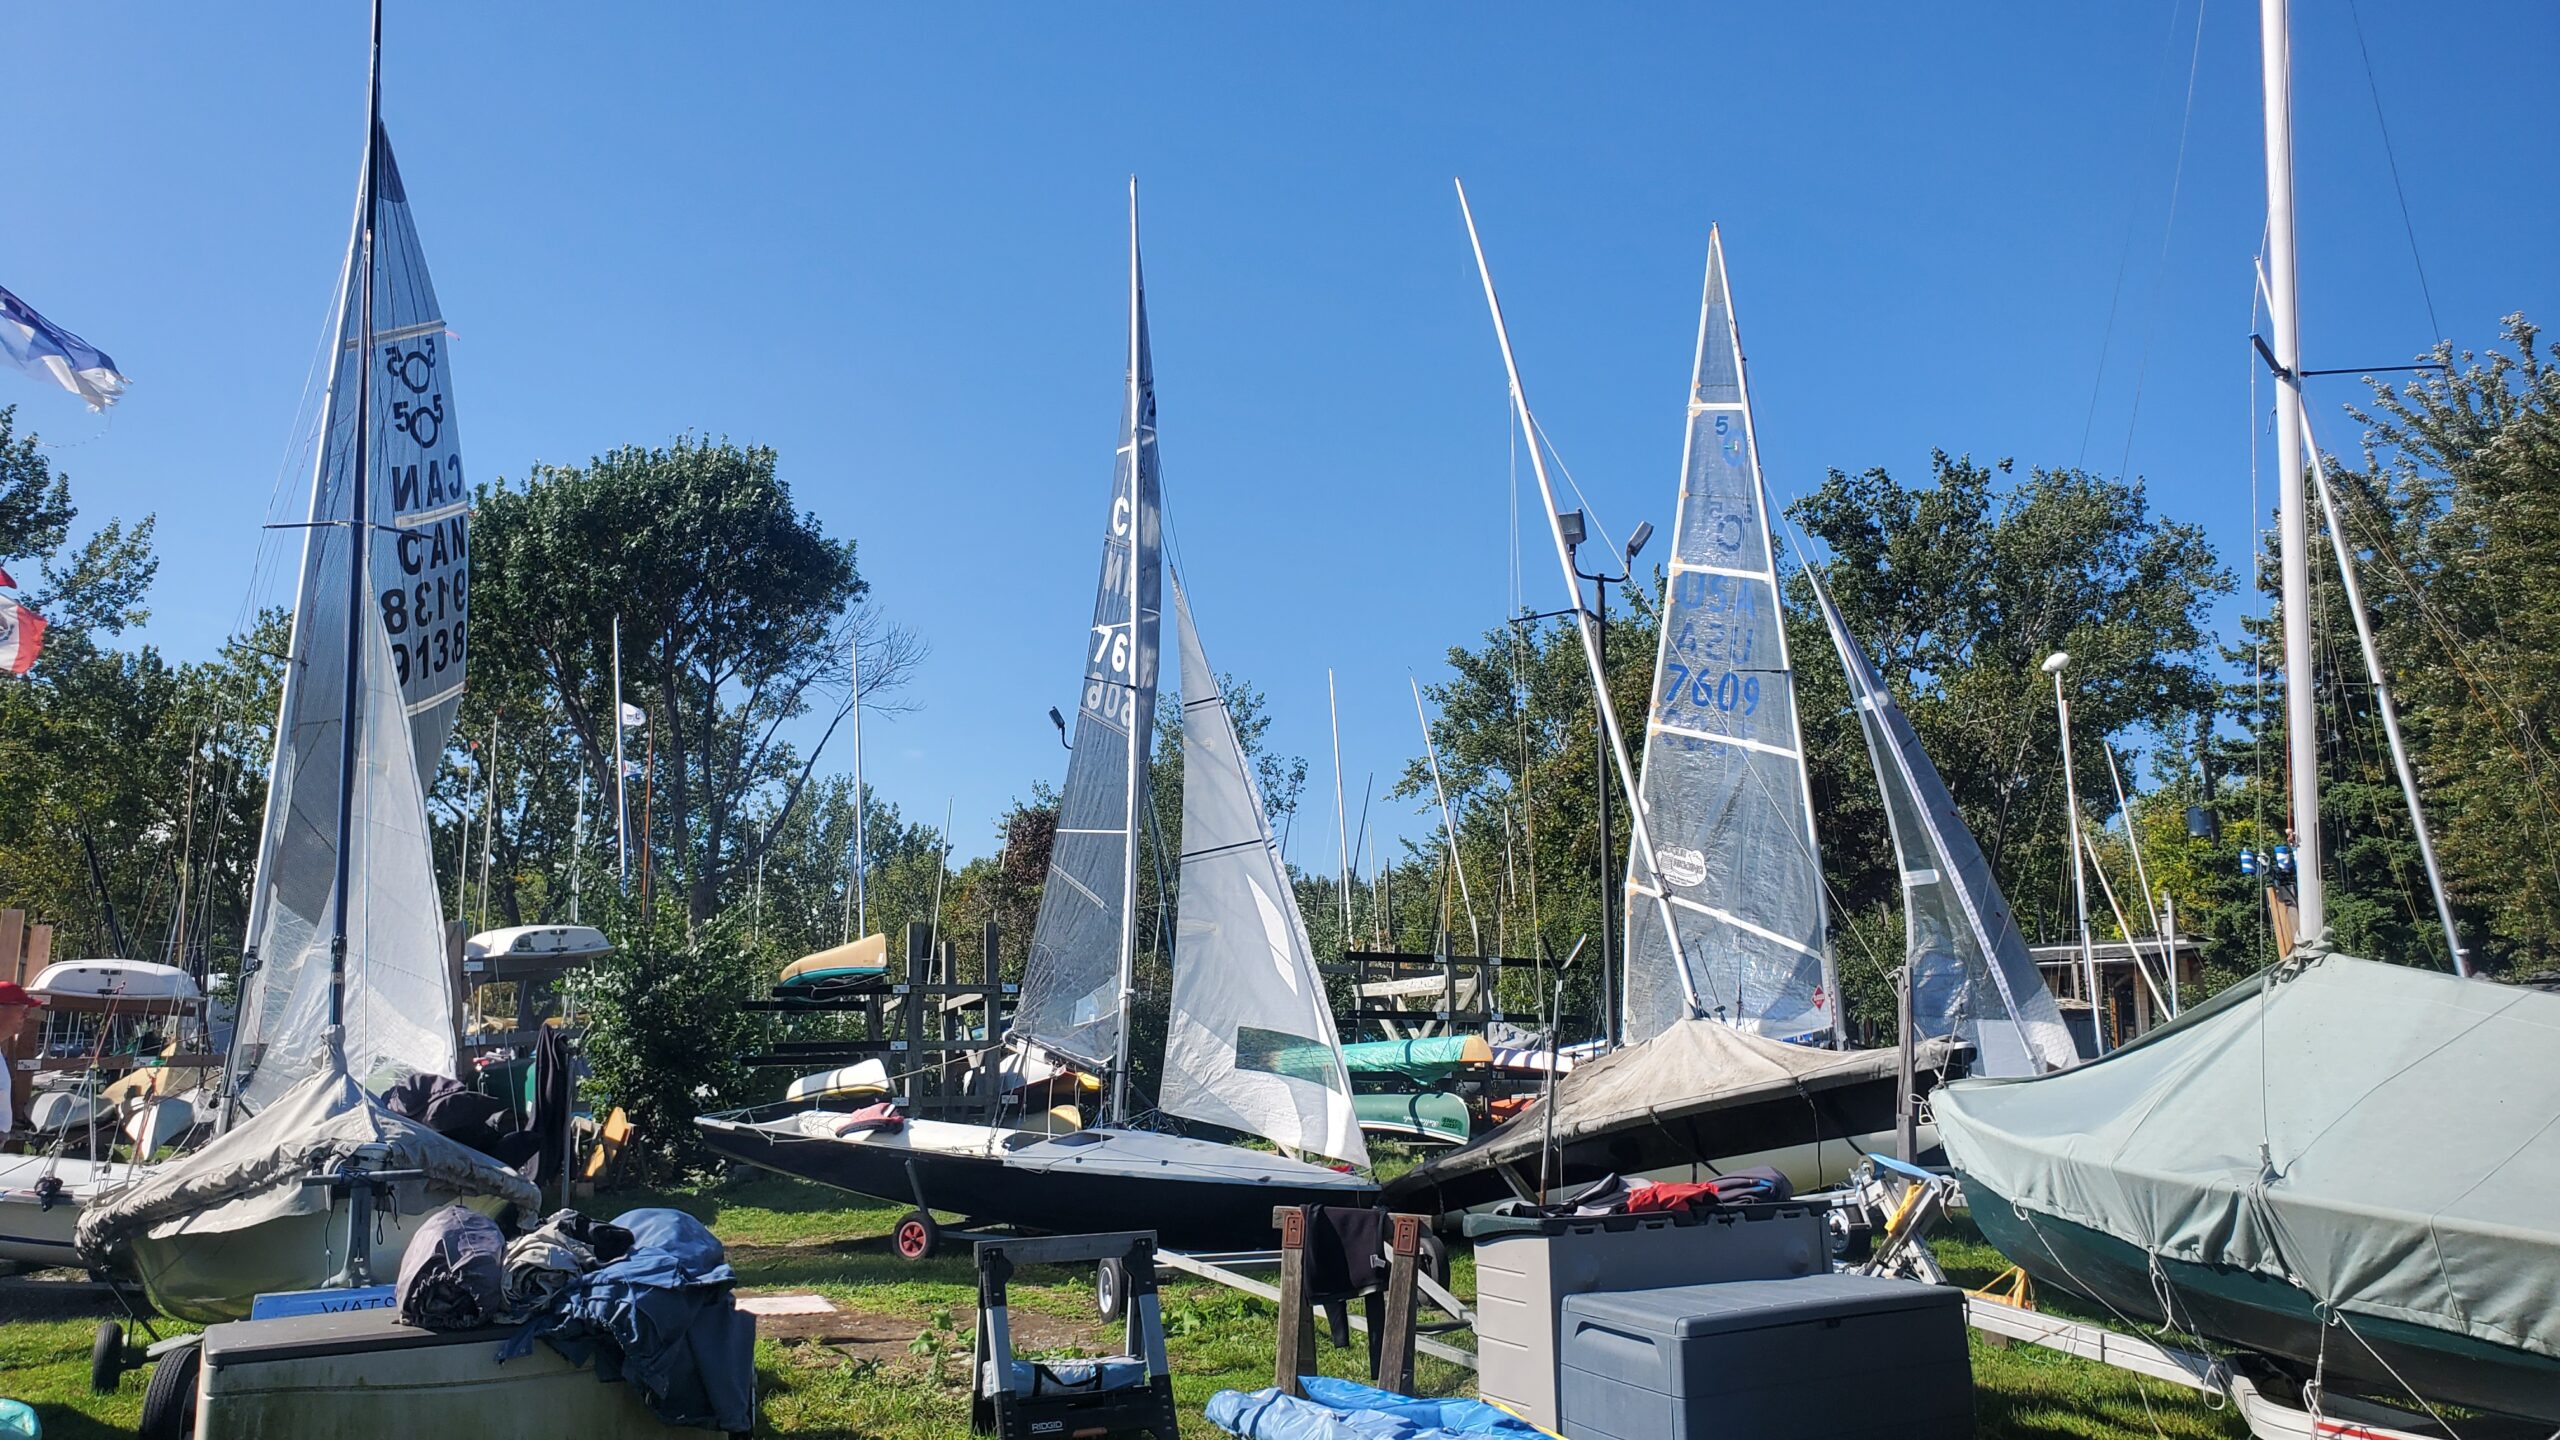
The second day the fleet ventured out beyond the shelter of the outer harbour and into the big easterly waves on the lake. Consistent 15 to 18knts with 3 to 5 ft waves made for ideal 505 conditions! The fleet was joined by crews Drake and Patrick, bumping the boat count to 4 plus coach Rib. Plenty of upwind and reaching practice, with all four boat progressively getting faster as the day progressed.
Big shout out to OHCC for hosting and providing use of the coach Rib, which made for a bigger, better and more importantly safer event. Shout outs to Ali and Shona for making he trip in and proving great insights.
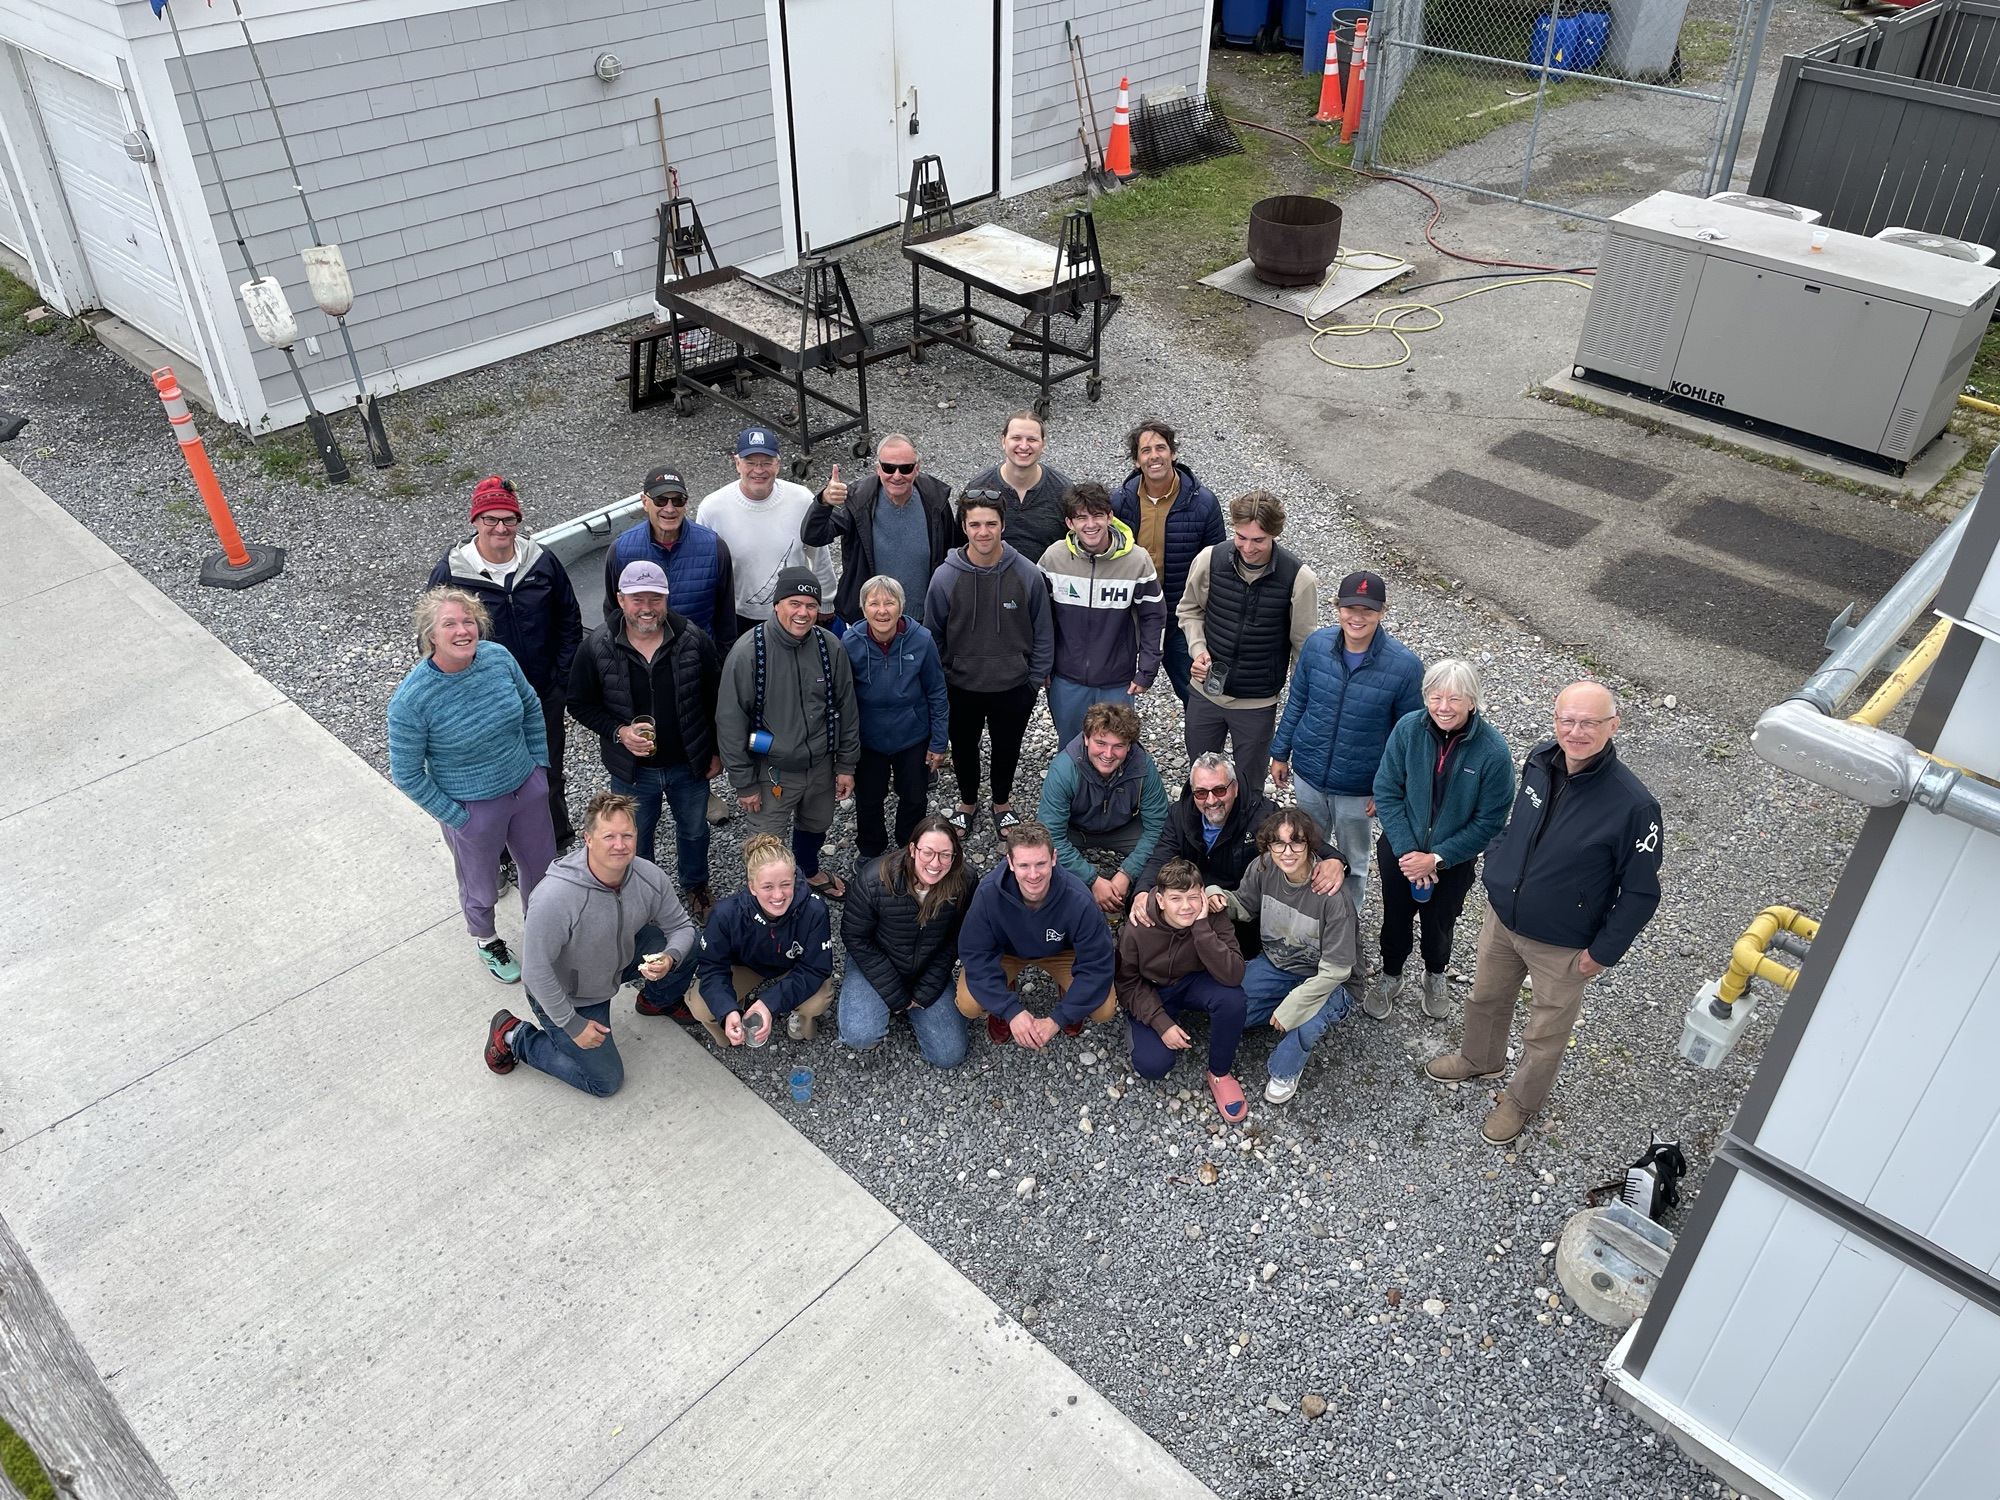
This years Canadian national 505 Championships was a true reflection of the exciting new ‘vibe’ that is happening here in Eastern Canada: Big fleet, Five Out-of-Towners, and Family teams (partners, kids/parents). Most notable was the huge range of ages from hot young sailors to John Moss on RC committee boat who actively raced 505 in the 70s.
Being Canada, winters come early and the weather gods thought it would be a good idea to remind folks that the seasons are changing. A cold front arrived Saturday morning and stayed for the entire weekend. It meant for some cold, wet and windy conditions, that even the famous Californian teams would be pleased with.
Sailing in breeze requires a different mind set and with time, the comfort zone becomes more established. And it is conditions like this is where dreams are made of, but it was also a time to test how strong your boat is put together. The winter repair list became quickly evident, both major and minor.
Being the national championships, the Ottawa Fleet took the opportunity to combine the event to acknowledge retiring sailors. We bid farewell to John Bryant who over the years has schooled us all on tactical racing and how to make a boat go fast in light shifty conditions. And the team of Chris Gilles and Clarissa Bush, who were major fleet builders, event organizers and a wealth of knowledge of the 505 class. Clarissa was also a former top female skipper at NAs a few years back.
Of course, it wouldn’t be a proper regatta without a lovely dinner and exhaustive de-brief session following each day. After hot showers, and warm clothes: the fleet settled in to an enormous dinner and chat. Long time sailor Ali Meller, and now the owner of the Kingston Sail Loft, was a competitor and it was pleasure to have a sail maker join us because it brings the discussion of sail trim to a whole new level.
As for results, in true Canadian fashion it was a three way tie for first place. Maybe we say sorry too much but mathematically it had to boil down to the young guns of Luke Strickland and Christian Voyer in third place, and the husband and wife teams of Shona Moss and Stephen Lovshin in second and Dave Adams and Debbie Ashby taking first.
And finally, a big thank you to Marie Gendron for organizing the food and dealing with all the hidden tasks of running a regatta. Rob Voyer as chief cook. And of course the event would also not be possible with our amazing spokesperson Paul Place and president of the Canadian 505 Association. We would not be the fleet that we are without all these amazing people.
This concludes our season. We end on a note of promise and excitement for next year. The NAs are coming to Kingston next August, which has spawned chatter about actually “training” for regattas, what to get loved ones for Christmas presents, or who can we get into a boat and reunion tours by former teams.